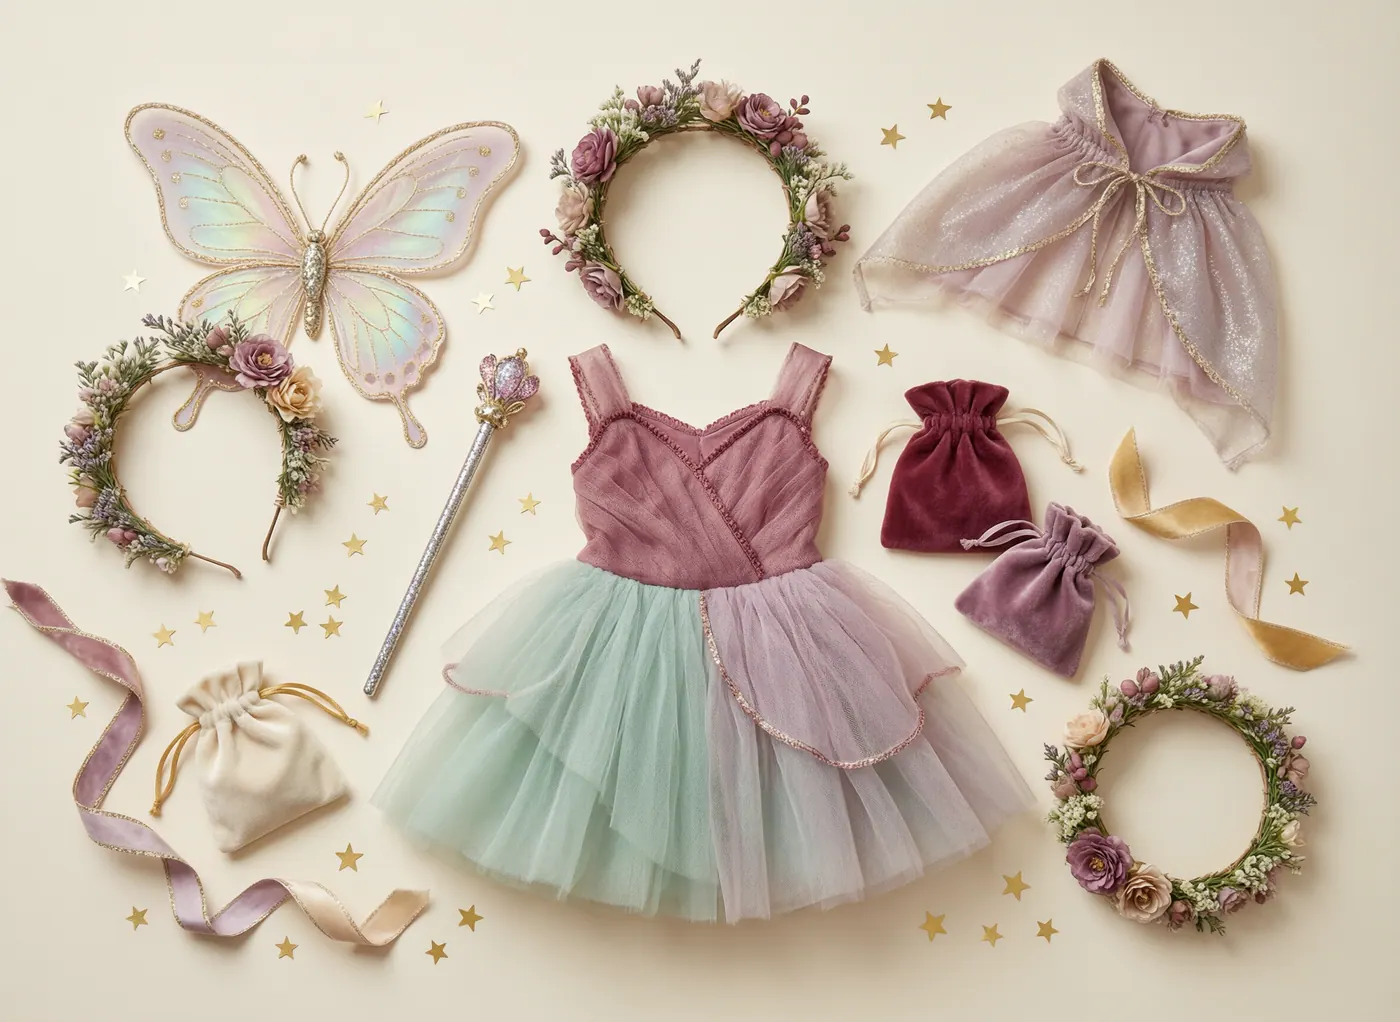
Choose a wing base that matches the child
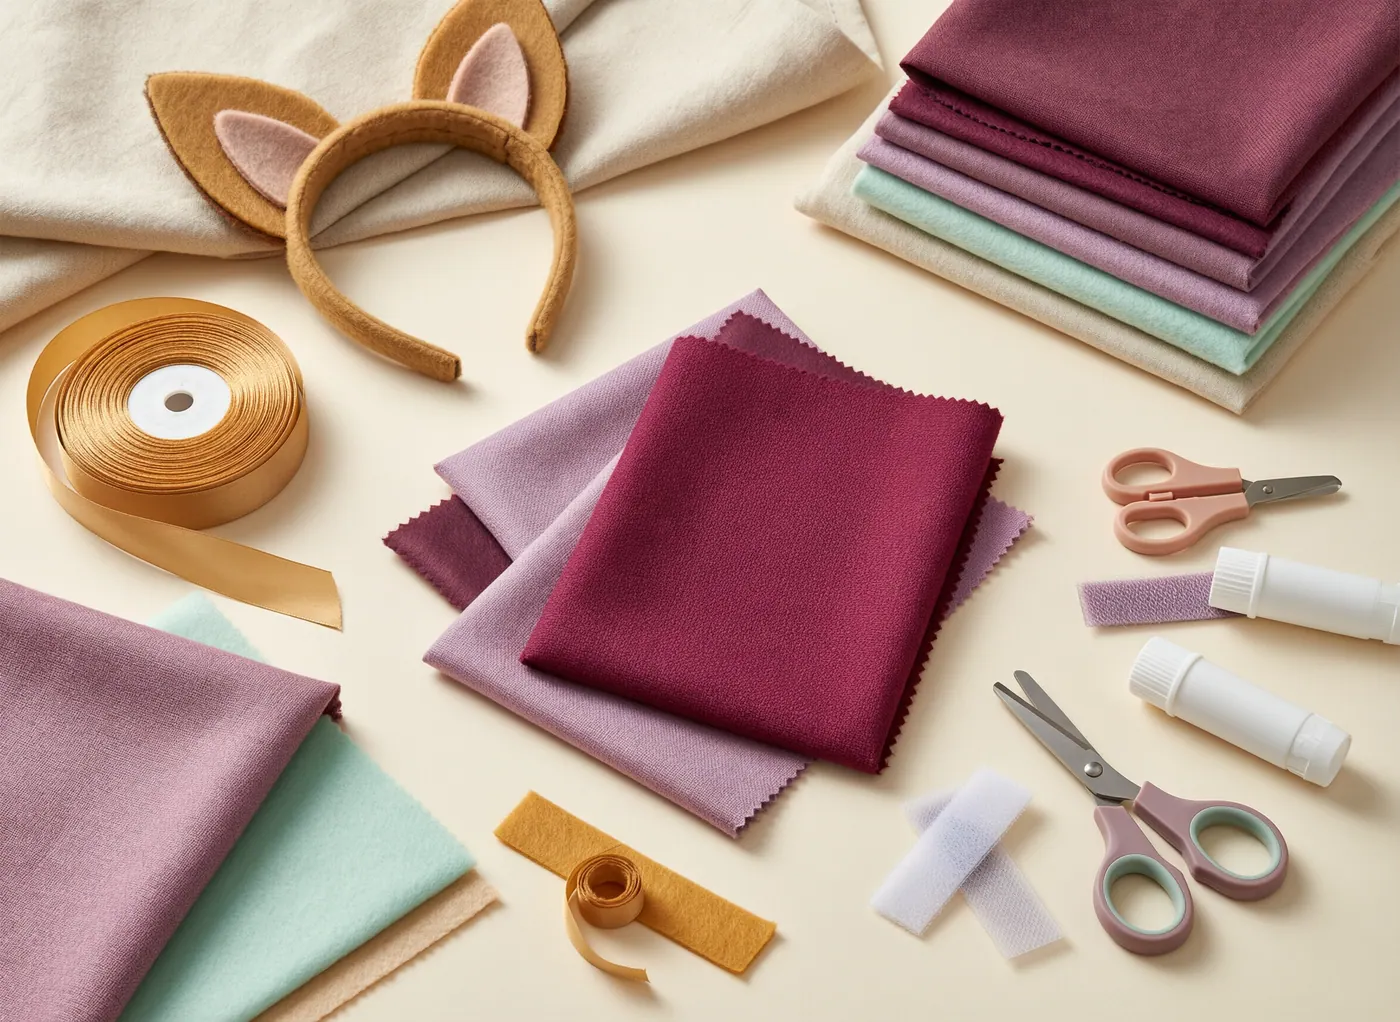
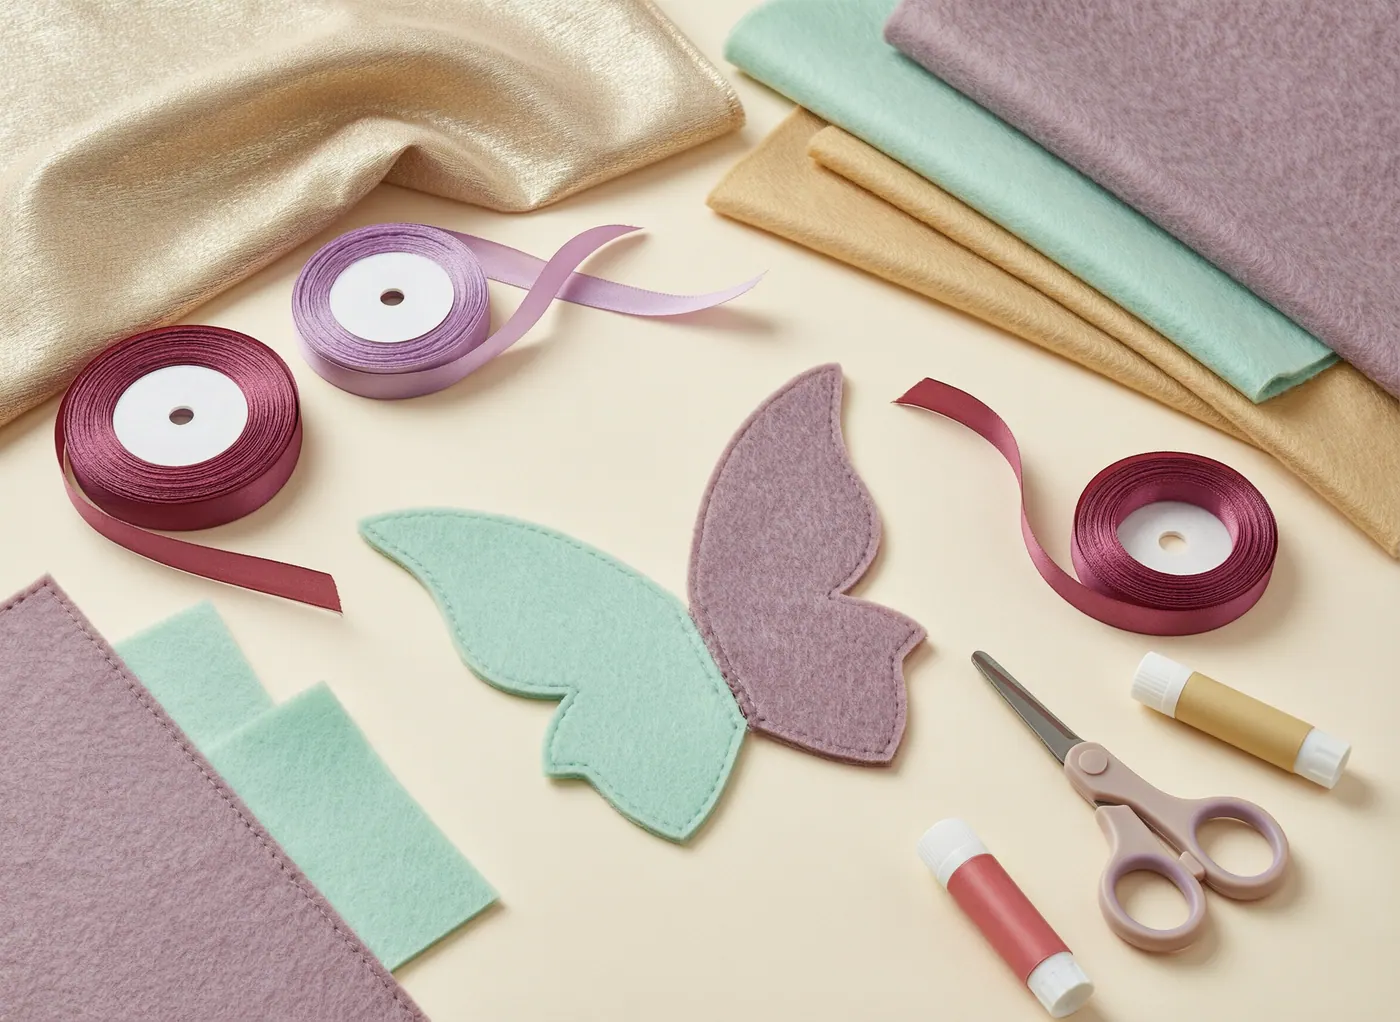
DIY fairy wings do not need wire, sewing, or complicated templates. In fact, the simplest materials are often better for young children. Lightweight cardboard, poster board, felt, and craft foam are easy to cut, easy to decorate, and less likely to poke than wire frames.
Think about the child's age and the event. Preschool party wings should be light, flexible, and short enough to move through doorways. A school costume may need to survive a backpack, chair, and playground. A photo-only costume can be wider and more delicate, but it still needs to be comfortable long enough for the child to enjoy wearing it.
As a rule, keep the wings no wider than the child's shoulders plus a few inches on each side. Oversized wings look dramatic but get bumped, bent, and removed quickly.
Pick a simple silhouette
You do not need a perfect butterfly outline. A rounded double-wing shape, leaf shape, heart-like wing, or simple teardrop pair can look magical once decorated. The simpler the silhouette, the easier it is to wear.
Fold a piece of paper in half to sketch one side, then cut it open for symmetry. Transfer that shape to cardboard, poster board, felt, or foam. If you are making wings for a party group, create one template and trace it several times.
Round corners and soften points. Even paper and cardboard can scratch when children spin, hug, or bump into each other. A slightly softer shape is usually more wearable than a sharp, delicate one.
Cut first, decorate second
For a calm craft, adults should cut the base before children begin decorating. This is especially true at birthday parties, where scissors, waiting, and uneven cutting can create bottlenecks. Prepare the wing shapes ahead of time and let children handle the creative part.
If children are old enough to cut, give them a smaller decoration task: cutting paper circles, stars, leaves, or stripes to glue onto the wings. Keep the wing base itself sturdy and clean.
Decoration is where the wings become personal. Use washable markers, stickers, glitter paper, metallic tape, paper shapes, ribbon, doilies, or tissue paper. Avoid loose glitter near eyes, food, and shared tables. Glitter paper gives the sparkle without the cleanup.
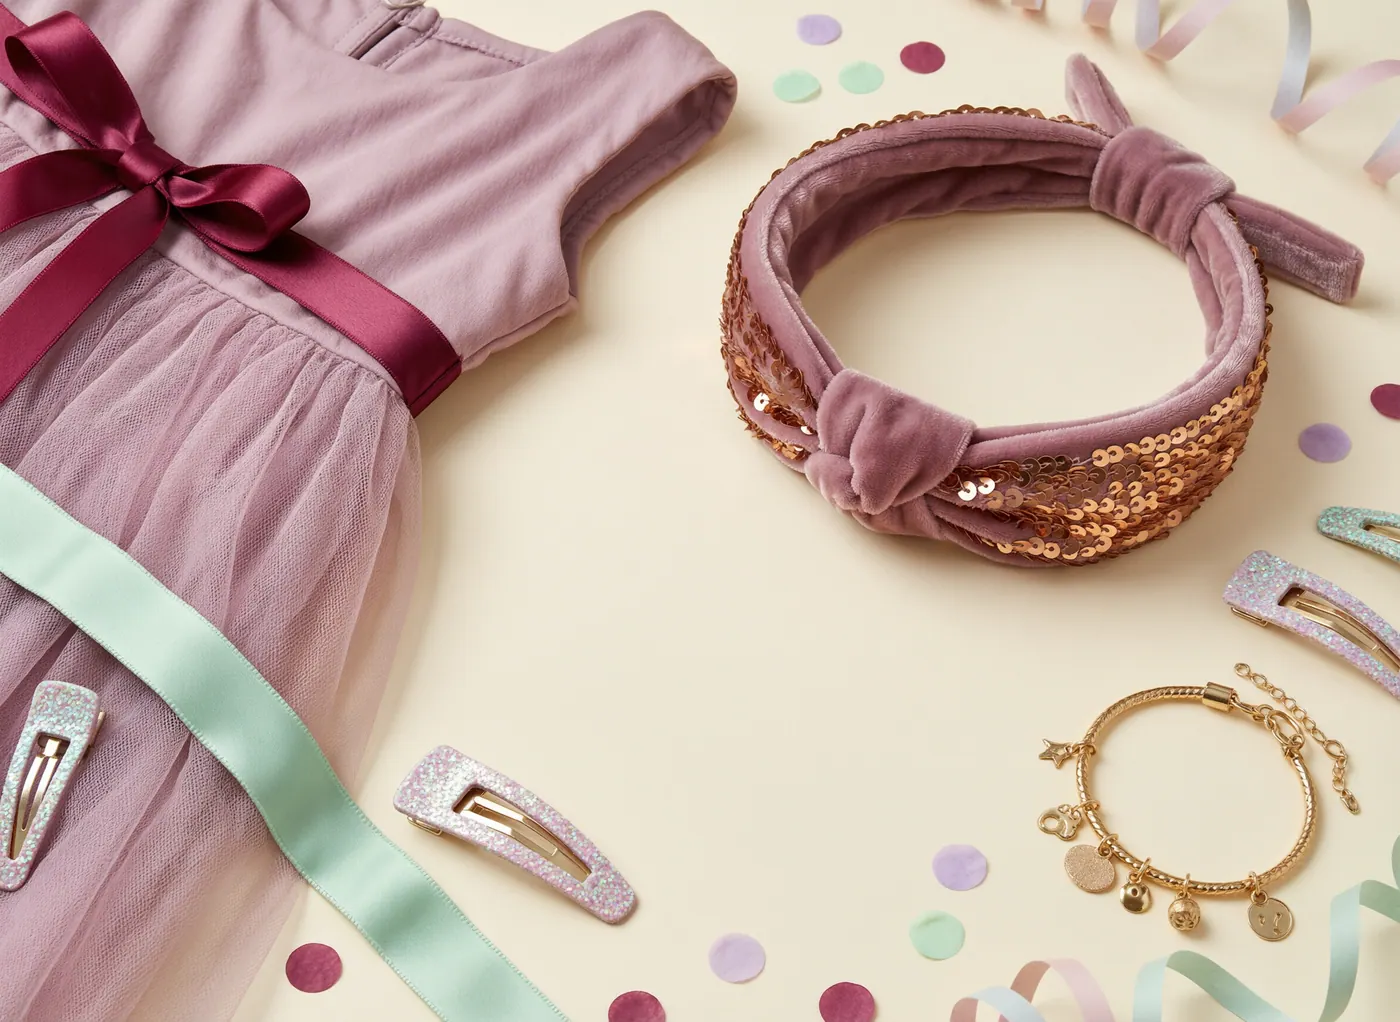
Make straps comfortable
Straps decide whether the wings stay on. Tight elastic can dig into shoulders. Loose ribbon can slip. Long ties can tangle. Choose the simplest strap that works for your child's age and the length of wear.
For younger children, hand loops are often easier than shoulder straps. Add two soft loops to the back of the wings so the child holds the wings like a cape. This makes the wings easy to remove and avoids shoulder pressure.
For shoulder straps, use soft elastic or ribbon and attach it securely through reinforced holes. Place tape or felt patches around the holes so the material does not tear. The straps should sit like backpack straps, not around the neck. Test over the actual outfit, because a sweatshirt changes the fit.
For a party craft, consider skipping wearable straps during the activity and adding them after the glue dries. Children can decorate flat wings, then adults can help finish the straps.
Keep the craft low-mess
Fairy wings can turn messy fast if every table has glue puddles, loose glitter, tiny gems, and wet paint. A low-mess version is usually better, especially for preschoolers.
Set out a small menu of materials: markers, stickers, paper shapes, glitter paper, and a few ribbons. Pre-cut shapes make the craft feel generous without requiring constant adult cutting. Glue sticks are easier than liquid glue. If you use liquid glue, offer cotton swabs or small brushes instead of open bottles.
Tiny beads, sequins, and gems can be choking hazards for younger children and are hard to clean from floors. Save them for older children or supervised one-on-one crafting.
Try theme variations
Garden fairy wings can use leaf shapes, green paper, and flower stickers. Night-sky wings can use navy paper, silver stars, and moon shapes. Rainbow wings can use strips of colored paper radiating from the center. Woodland wings can use brown, cream, and mossy green with leaf veins drawn in marker.
For a softer look, cover cardboard with felt or fabric scraps. For a sturdier party favor, laminate paper decorations with clear contact paper. For a no-sew costume, pair the wings with a plain dress, leggings and a tunic, or comfortable clothes in the same color family.
You can also make "not exactly fairy" wings for children who prefer other stories: dragonfly wings, butterfly wings, bird wings, bat wings, or space wings with stars. The same base method works.
Test before the event
Before the party or dress-up day, have the child wear the wings for a few minutes. Ask them to walk through a doorway, sit, reach, and turn around. Watch for slipping straps, sharp corners, wings that bend too easily, or pieces that shed.
If the wings are for a group of guests, make one sample first. A test wing will tell you whether the material is too floppy, the straps are too tricky, or the decorations take too long to dry.
DIY fairy wings should feel special, but they should not be precious. The best version is light, safe, wearable, and easy to store for the next pretend-play afternoon.